LAST STEPS
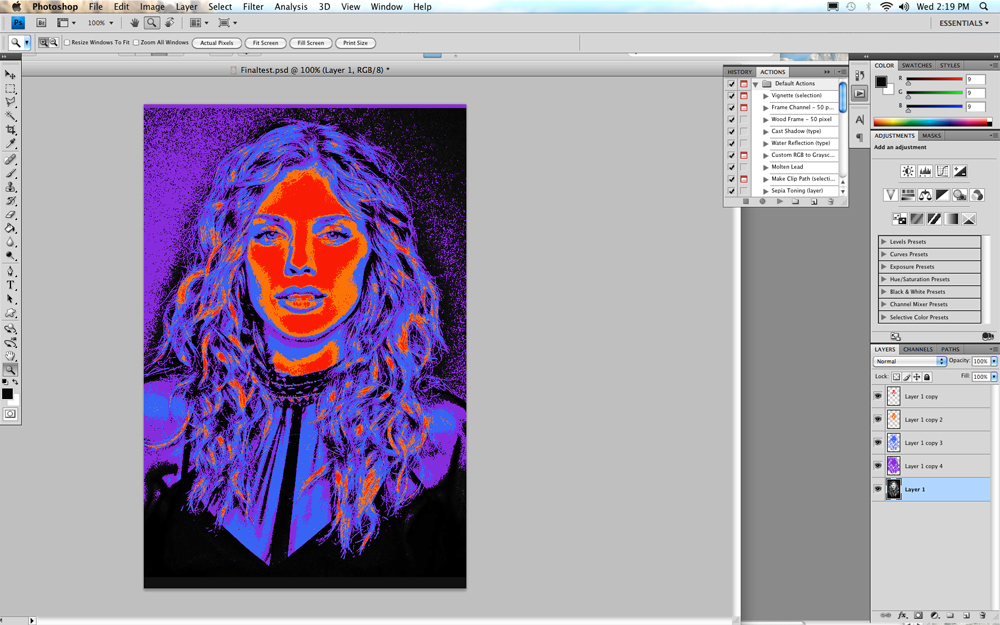
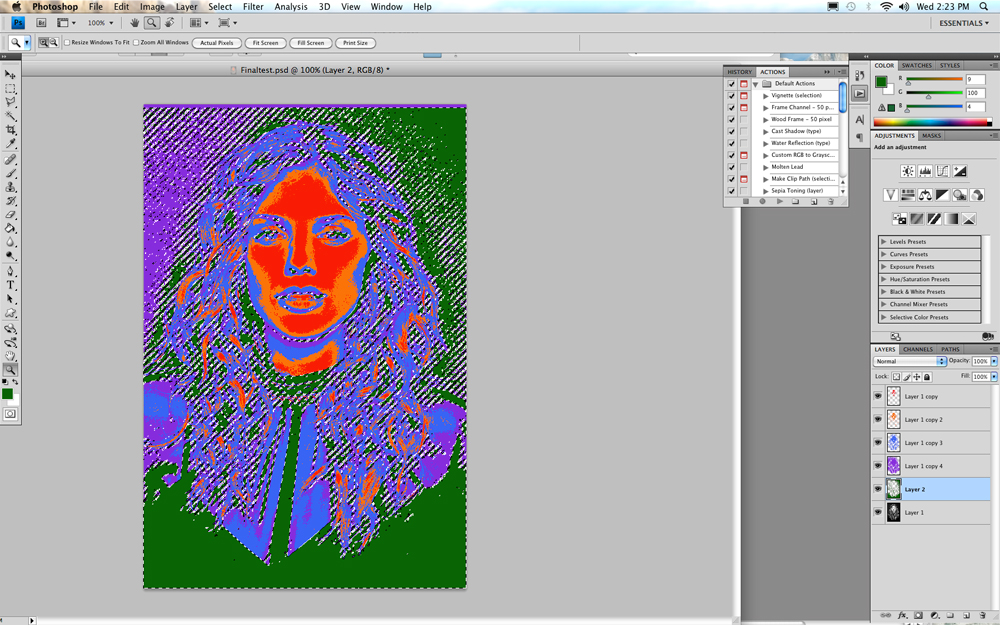
When you are finished with 4 or 5 differnt layers select the original bottom layer,
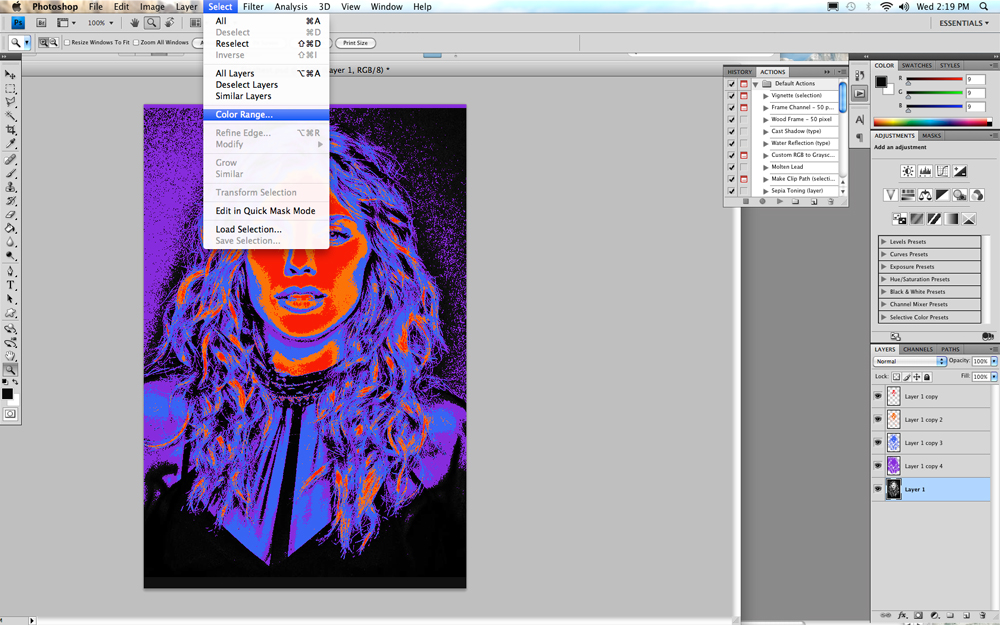
Select Color Range.
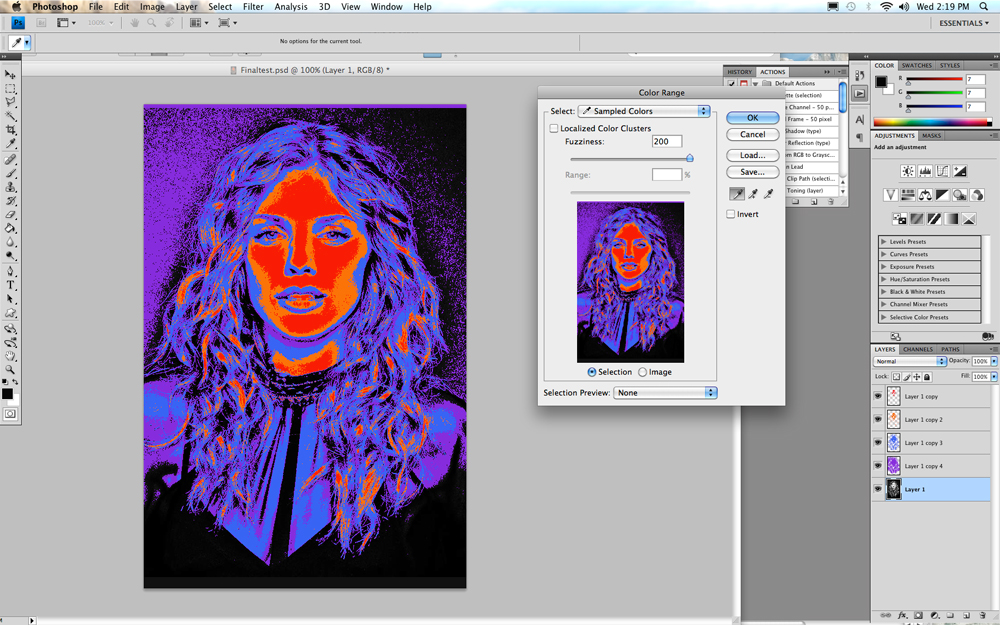
Click in an all black area.
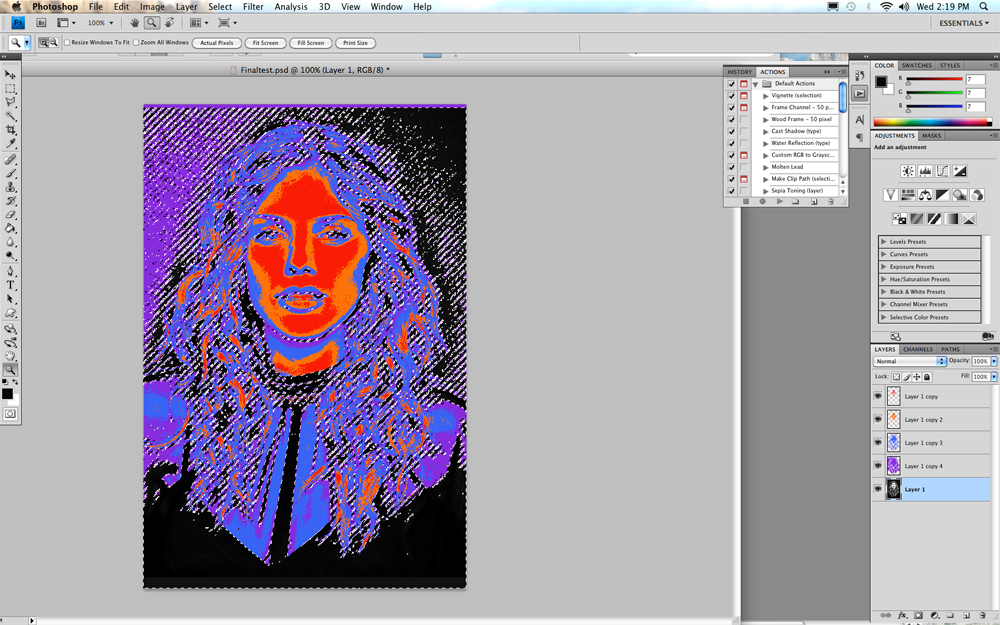
This will give you a selection of all the black areas.
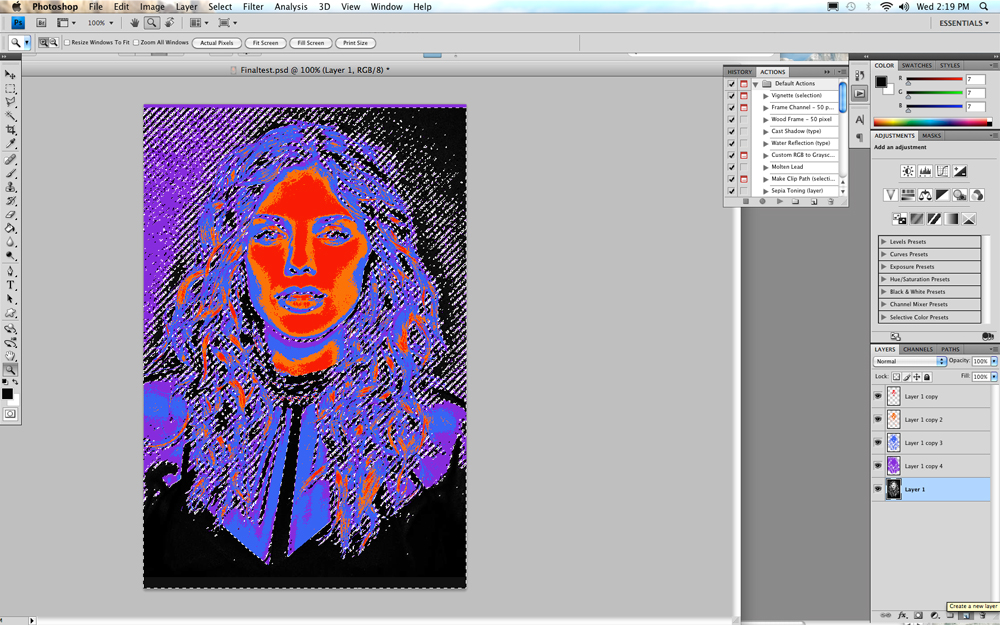
Go to the bottom of the layer window and click on the new layer icon. (See the bottom right had corner. It is next to the small trash can in the layer window.)
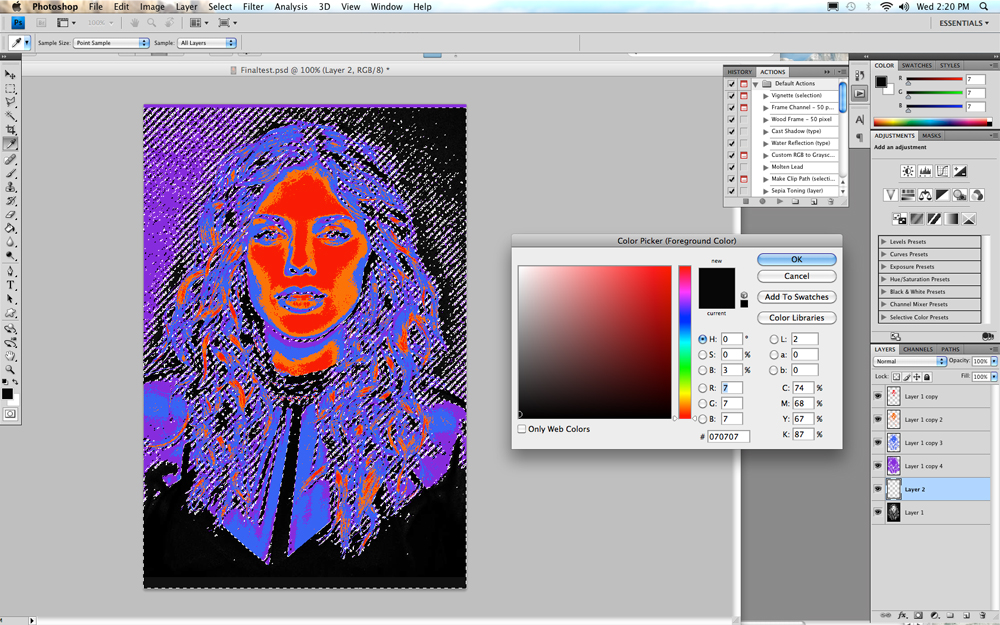
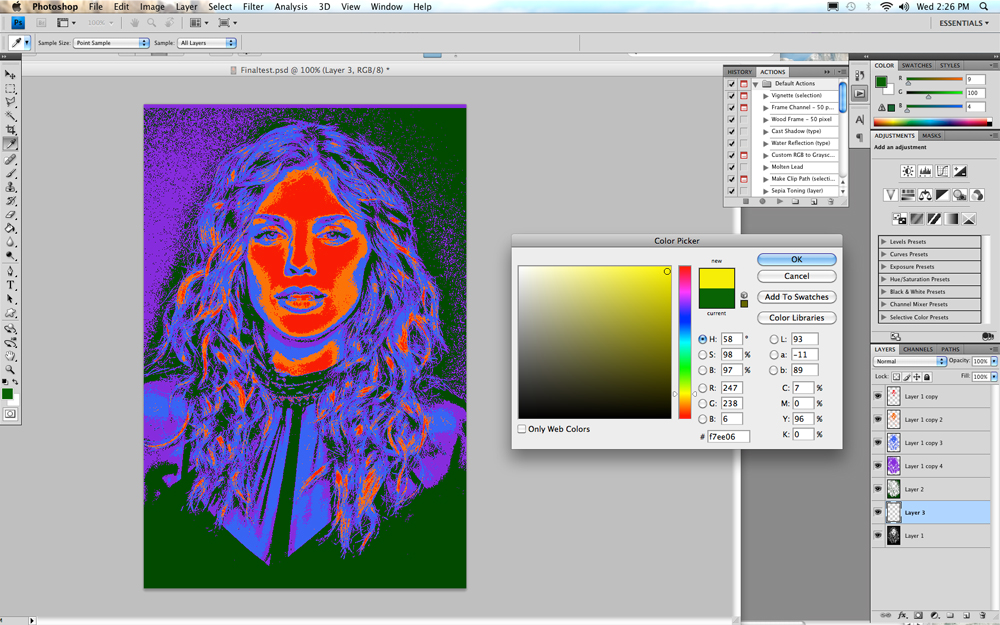
Click on the foreground color box to bring up the Color Picker window.

Pick a color in the vertical color scale, then pick your color in the large box.
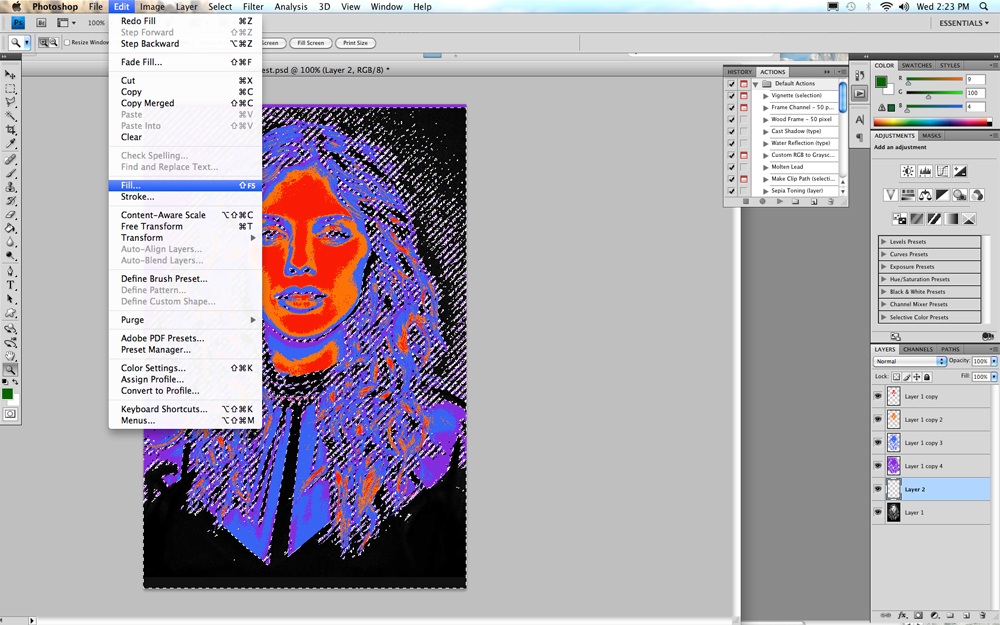
With the new blank page selected, Go to edit and fill.
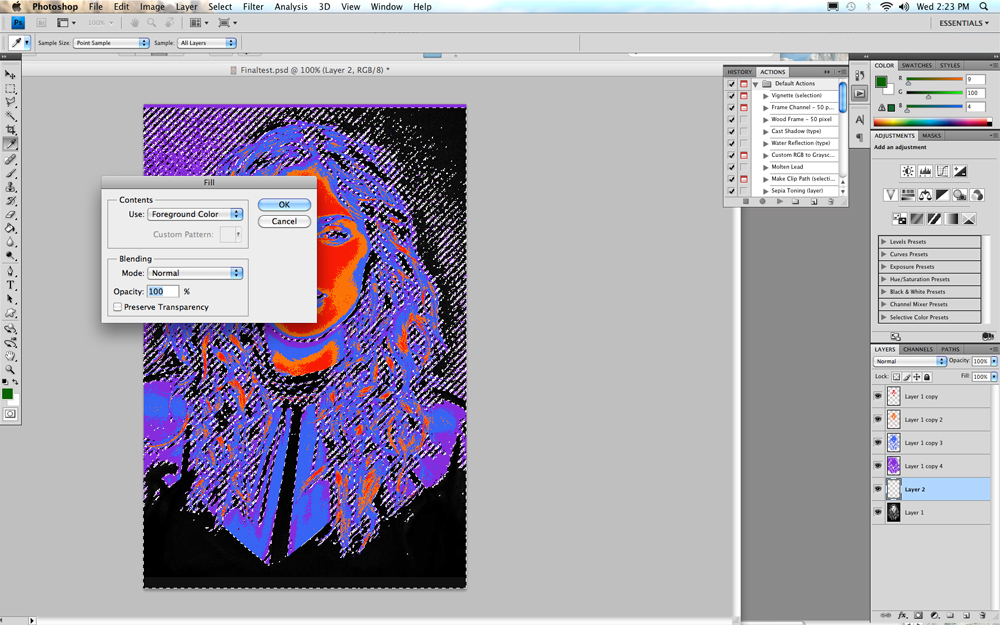
This will bring up the Fill window. Be sure Foreground color is selected in the USE box and click OK.
This will fill the selection with the foreground color you selected.

Go to Select and Deselect to deselect the green.
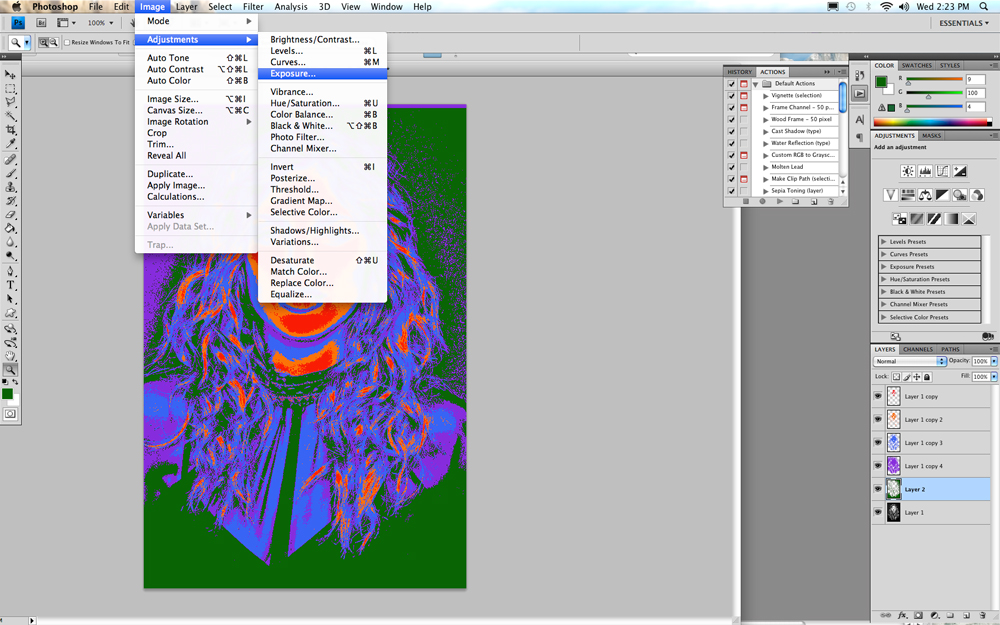
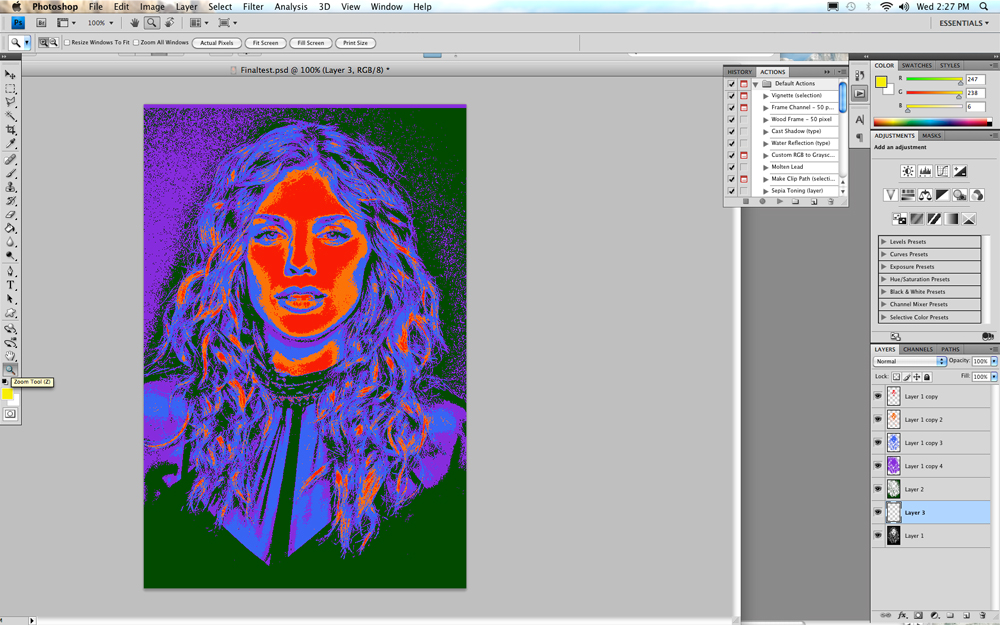
You can change how light or dark each layer is by choosing Exposure.
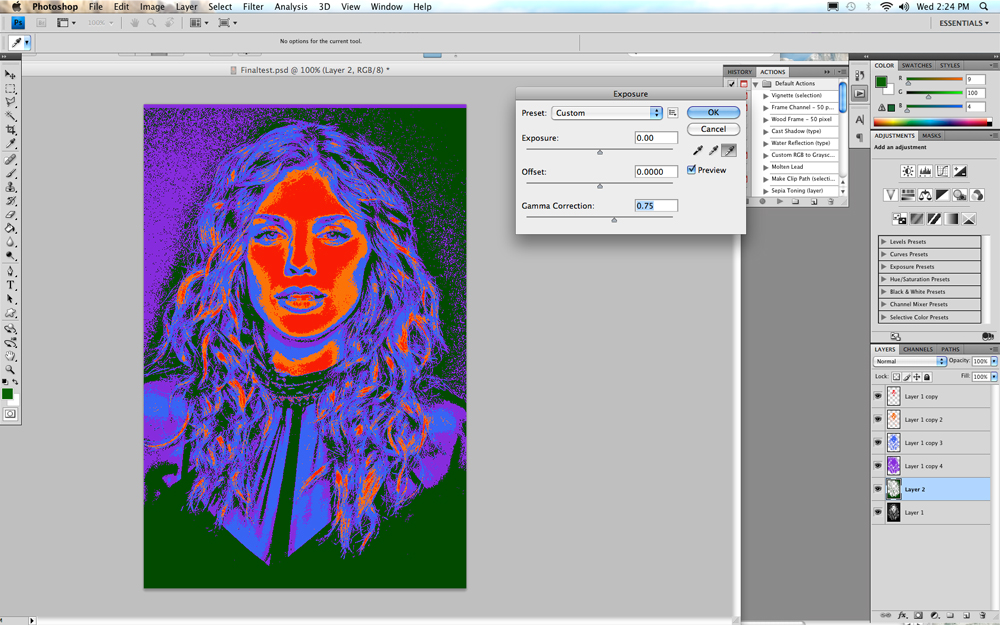
Using the bottom slider to make things darker in the selected layer move the tirangle to the right. To make things very dark you can use the top slider and move it to the left. This does not give you as much sensitivity as the bottom slider.To make a layer lighter use the top slider and move it to the right.

Now select the bottom layer.

Go to the Create a New Layer icon at the bottom right of the layer window and click. That will create a new layer above the bottom layer.
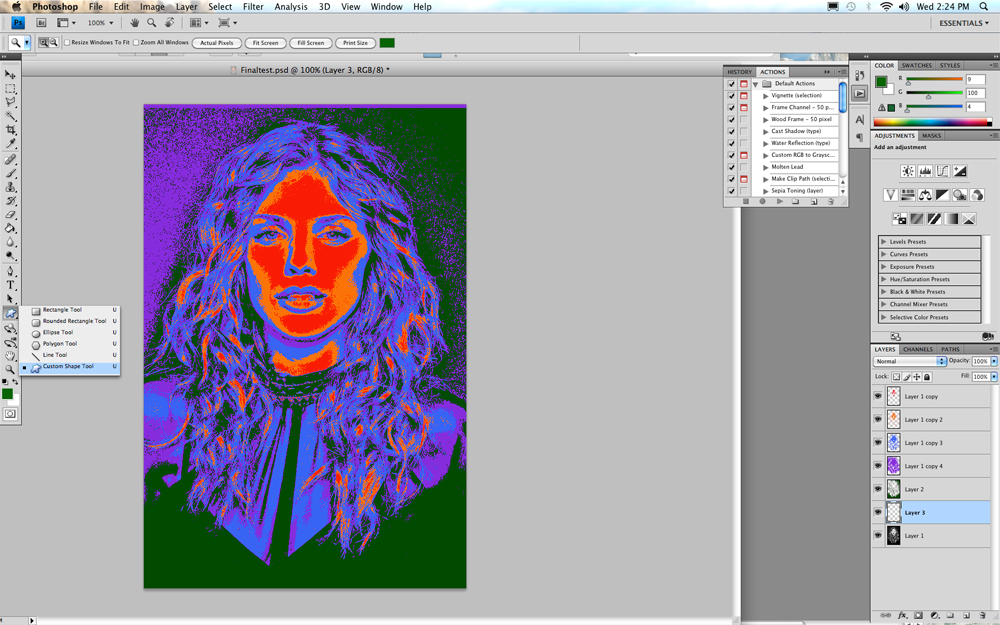
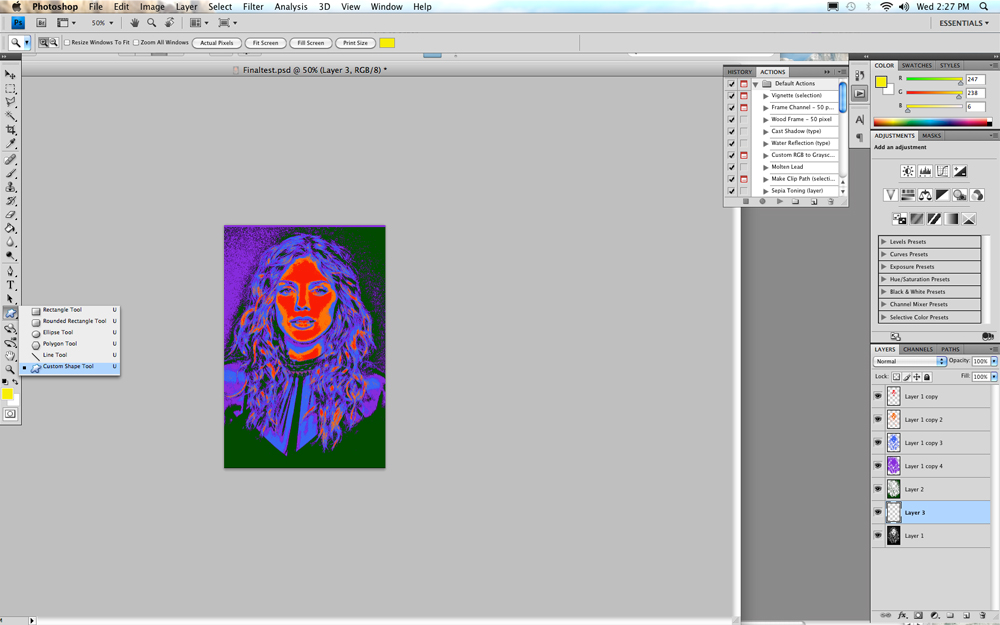
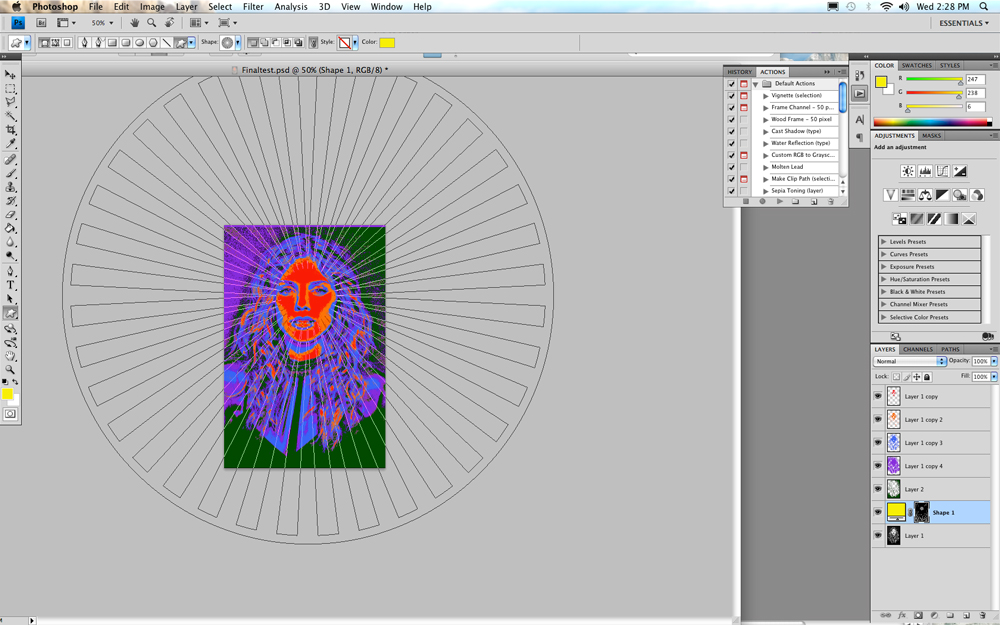
Now go to the Shape Tool and select the Custom Shape Tool at the bottom of the fly out menu.
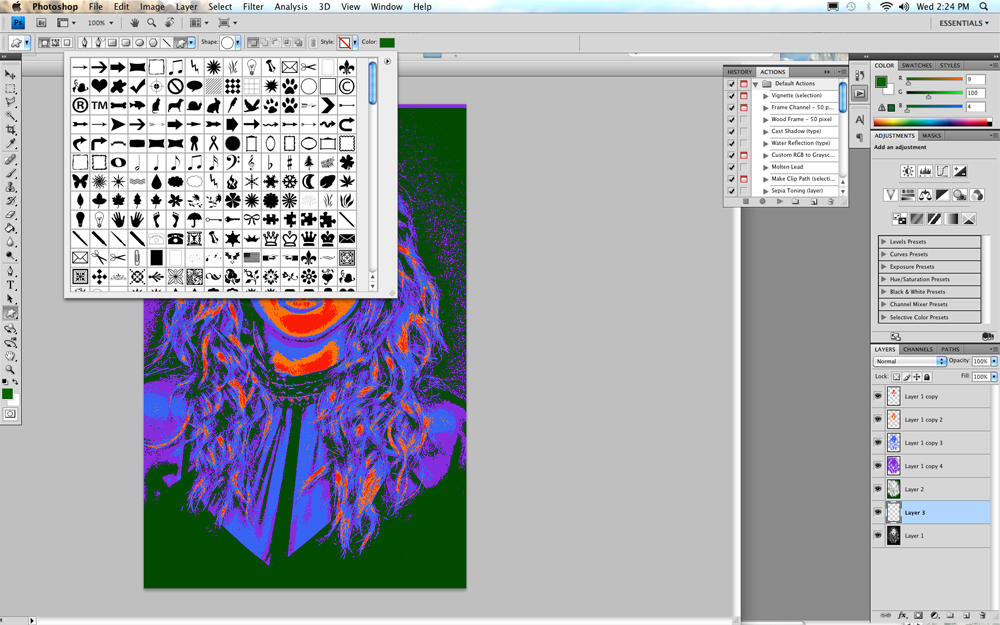
Click on the Whatever is next to the word Shape on the top menu bar. This will give you a large selection of shapes. If you do not have all the shape, ask Mr. D for help.
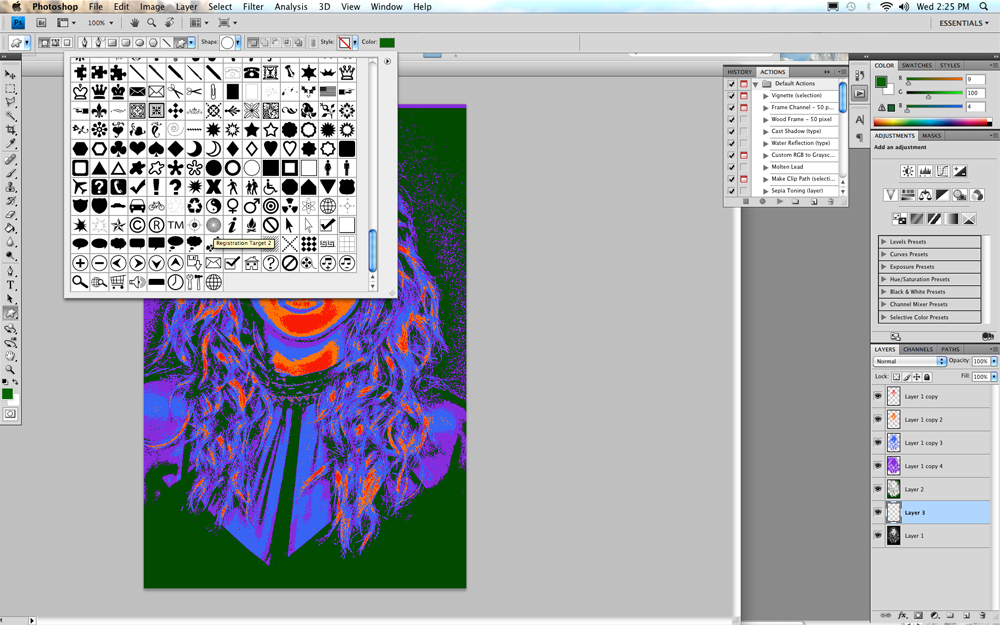
Scroll down to near the bottom and select the Registration Target 2 shape which looks like a circle with lines going in and a small white circle in the middle.
Click outside of the shapes window. Be sure you are on the blank layer.
Select another color for your shape.
Pick the Zoom Tool.
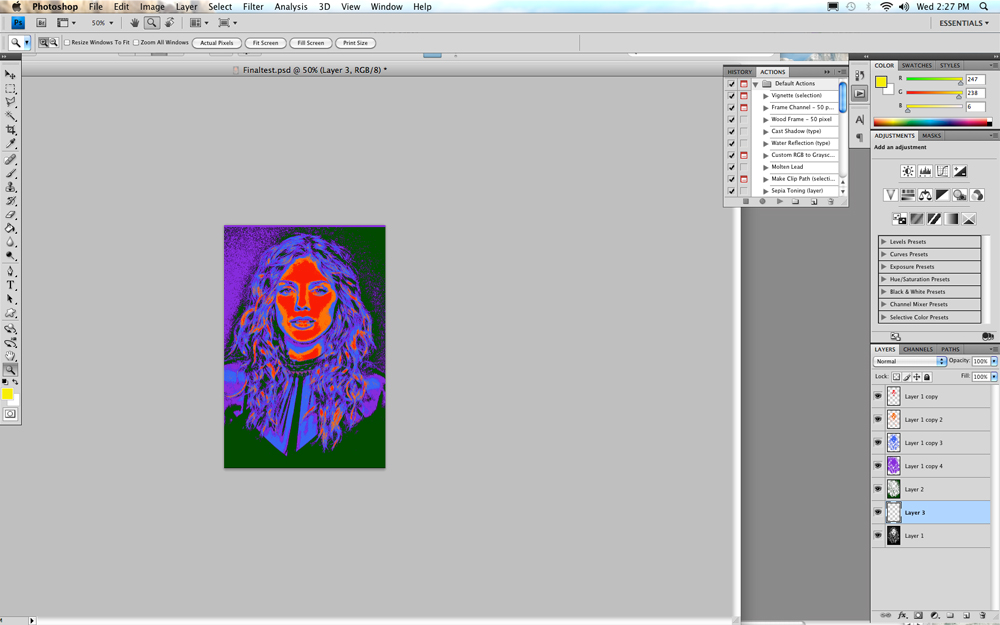
Holding the Option key down click on the picture with the Zoom Tool until there is a good amout room around the image.
Now go back and choose the Custom Shape Tool. Check and be sure the box at the end of the top menu bar is the color you selected. If it is not click on the color box and reselect your color.
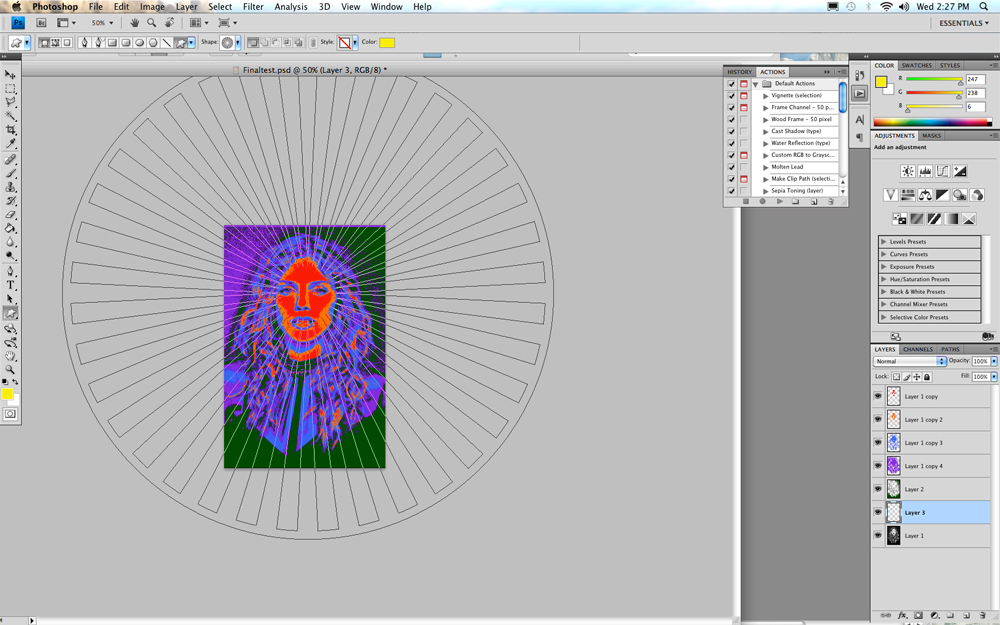
Now click near the top of the image while holding down the shift key if you want the shape to be a true circle. To move the shape around so you can position the middle of the shape around the face, hold down the space bar while still holding down the shift key and the mouse key , move the mouse around to position the shape without changing the size. Taking your finger off the space bar will let you change the size of the circle/ Be sure the shape extends beyond the image on all sides.
When you have it positioned where you want it take your finger off the mouse.
Click and hold the mouse key down on the layer you just made and drag the curser up until a black line appears at the top of the next layer above. At that point take your finger off the mouse and the layer should move above the layer that was just above it.

Now you should be able to see the color you selected on top of the bottom layer but behind all the other layers.
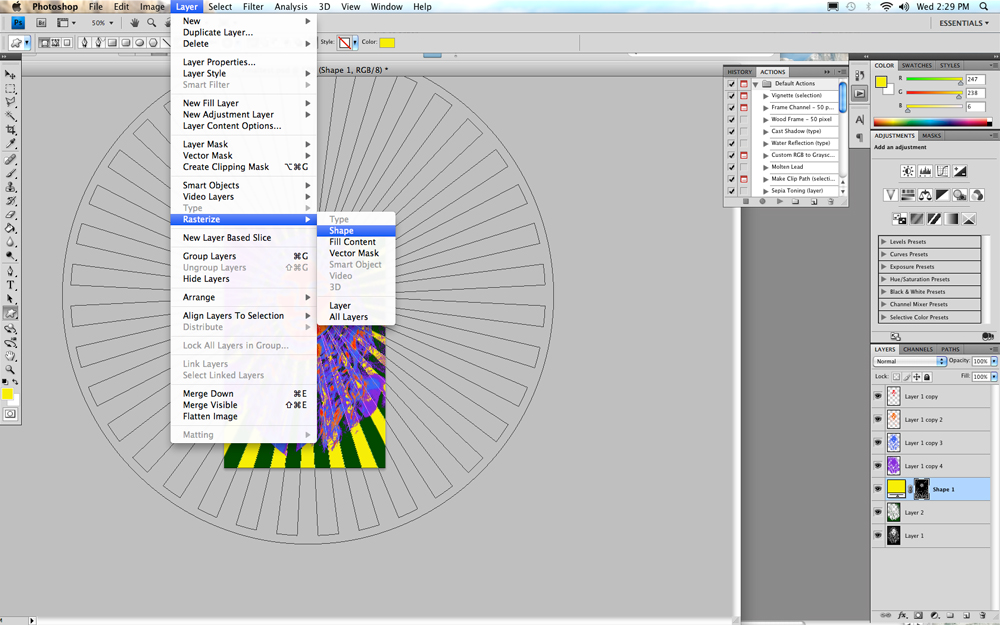
With the Shape layer selected, go to Layer, Rasterize, and Shape.This will allow you to work with it as a regular layer.

Again make sure the Shape layer is selected.

Go up to the right corner of the Layer menu to Opacity and click the down arrow next to the 100%.

Drag the triangle to the left to make it less opaque. Notice how it changes an stop when it look the best to you.

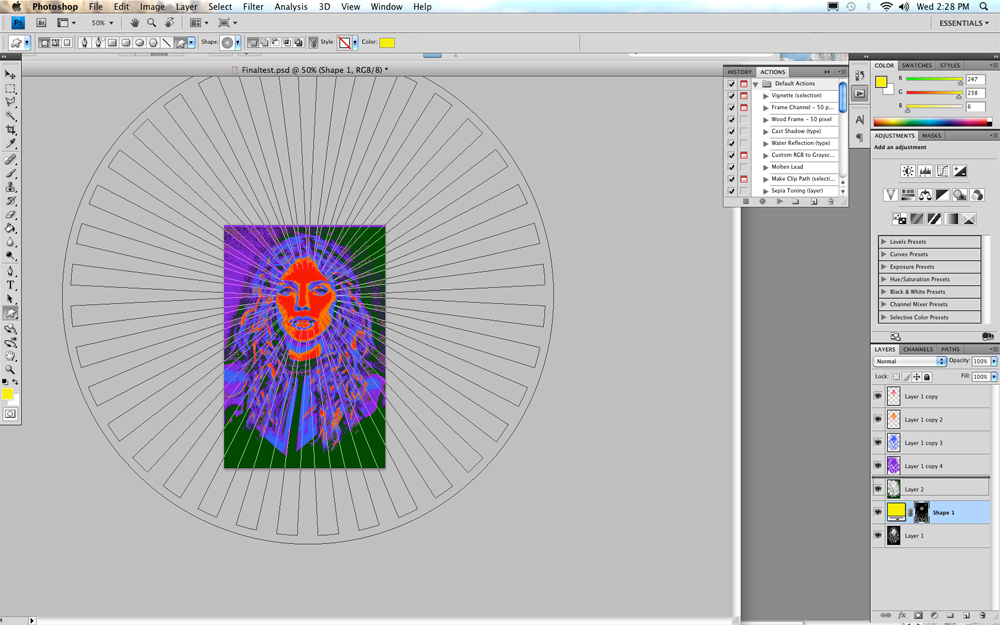
Now again move the Shape layer up one layer as we did above.

Notice how you can see more of the Shape. Find the best place for the Shape layer. Whatever looks best to you for your picture. I like this one right here.
Remember you can change the Opacity of each layer, the color of each layer and how light or dark the color is. You can also adjust the Saturation of the colors. Have fun playing around with all of these variables until you come up with something you love.

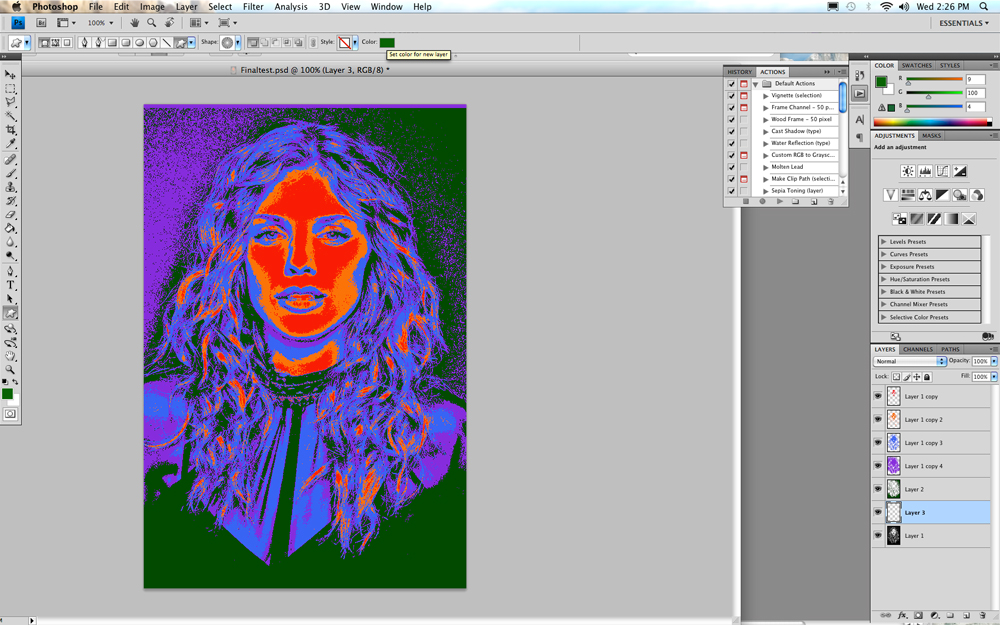
Now go to the File menu.

Select Save As from the File Menu
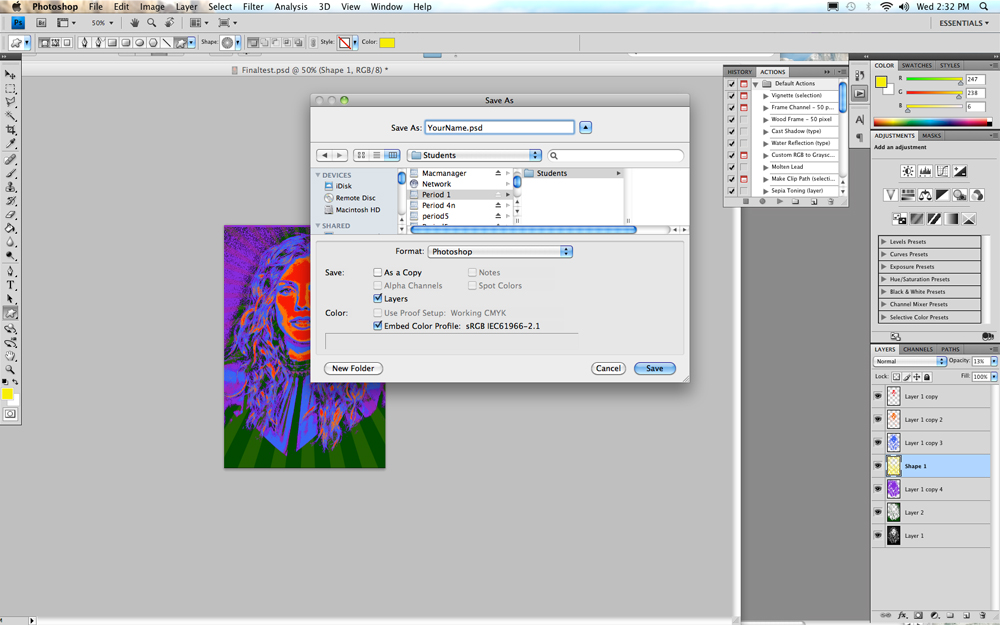
Be sure to go to your period and the student's folder. Make a foldeer with your name on it in the Student's folder if you don't already have one. Hit Save and you're done.
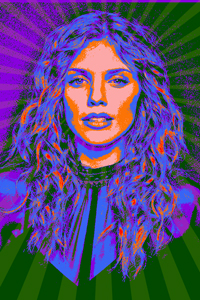
The red in this version was lightened up a lot which is what is different from the version above.